Most roofing materials are fastened with nails. However, these are not the classic nails commonly used in the construction industry, but special roofing nails, which are designed to provide the best possible durability for the chosen roofing material. There are many types of them. Each of them finds its application in a slightly different sector. The same is true of techniques – there are several, and using the wrong one can result in poorly installed roof. As a reputable chicagoland roofing contractor with more than 20 years of experience, we would like to share the knowledge we have accumulated so far.
Table of Contents
Why Are Roofing Nails Used And How Do They Differ From Ordinary Nails?
Roofing nails are specialized nails used to fasten lightweight roofing materials to the load-bearing structure. Usually, nails are driven in sheathing, purlins and rafters. Their construction is designed to provide the highest possible level of fastening, resistant to harsh weather conditions such as strong winds, and at the same time pose no risk of tearing the material or damaging the surface. However, these are exactly the qualities we expect from all nails used in the construction industry, right?
Roofing nails differ from ordinary ones in several key features. It is worth mentioning:
Shape
First of all, roofing nails have a larger, flat head, which allows them to better press thin materials so they are not subject to shifting or being picked up by the wind. This is especially important when it comes to asphalt shingles and metal roofs, although these are usually fastened with screws.
Material
These types of nails are usually made of stainless steel or coated with zinc, aluminum or copper. Why are roofing nails galvanized? Obviously, so that they don’t corrode, which could affect the durability of the roof and degrade the aesthetics of the building.
Size
In addition to the materials used, the main distinguishing feature of roofing nails is their size. While the head is usually large and flat, the shank can be very short – they usually range from 3/4“ to 1-1/4”. This is important because if the shank protruded from the roof truss, water would inevitably begin to seep under the roof, and that’s a straight path to mold growth in the attic.
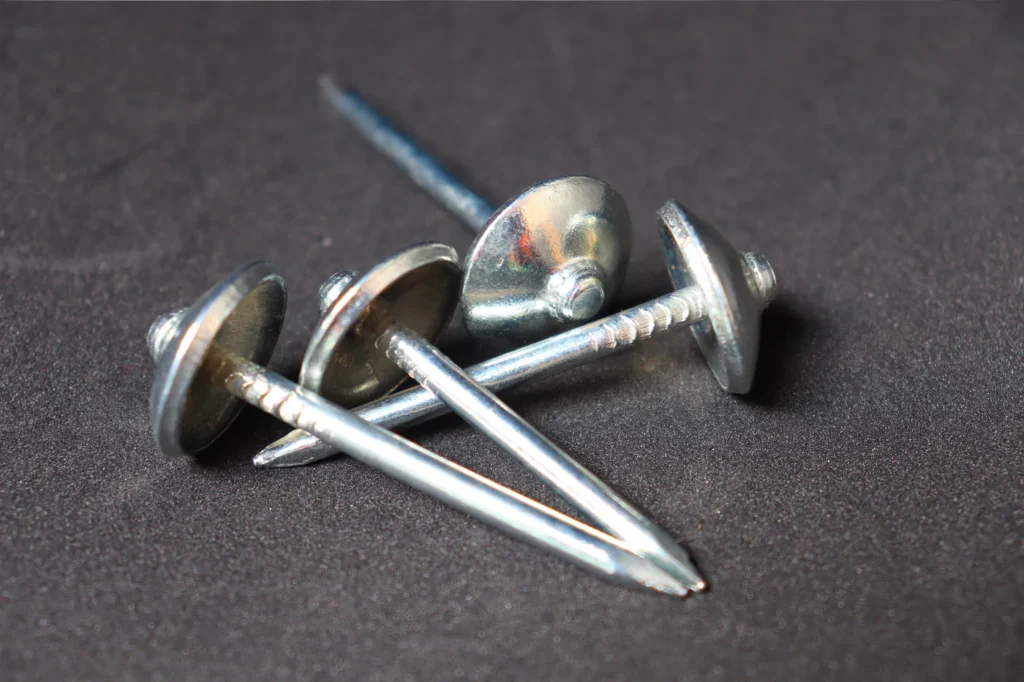
Roofing nail design under the microscope
Roofing nails may seem like a simple item, but their construction has been carefully designed and optimized to best serve their purpose – to keep the shakes or shingles in place.
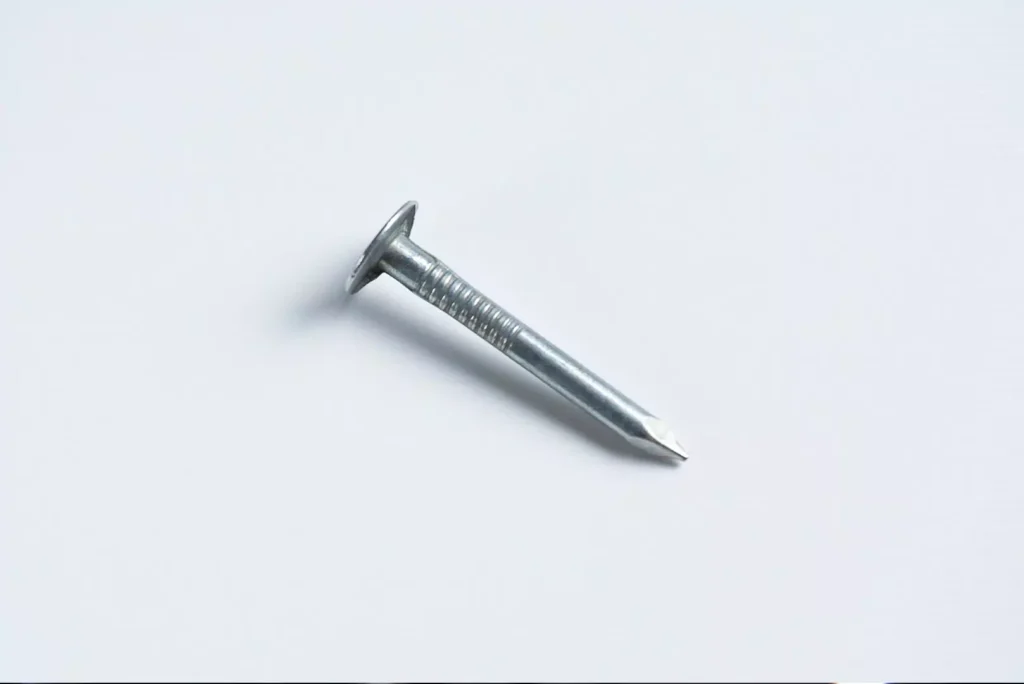
Head
The most distinctive feature of the nails used for roof installation is their wide head. It is much larger than usual, so that the nail distributes its pressure over a larger area, which reduces the risk of damage to the material. At the same time, the flat surface of the head makes the nail lay better in the material – it doesn’t slide sideways, instead going straight into the shingle and the material underneath.
However, there are cases where roofing nails have small heads. This happens when they are installed using a nail gun, as well as when special washers are used to replace the head. In practice, nails with narrow heads are commonly used in slate and cedar roofing. Keep in mind, however, that the International Building Code requires that roofing nails have at least a 3/8″ diameter head.
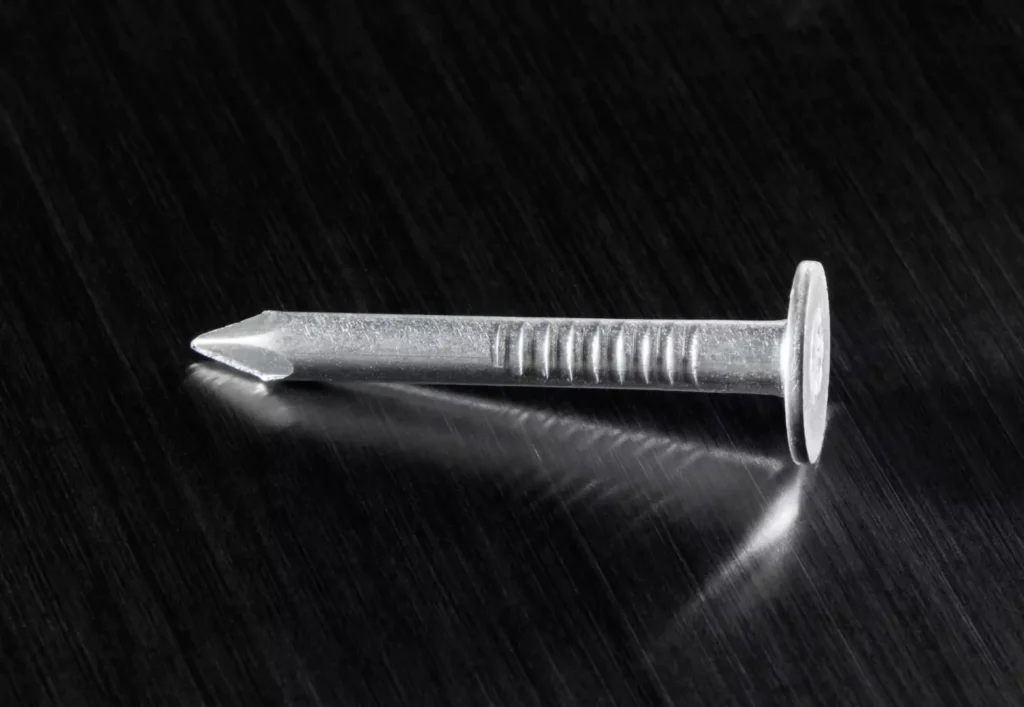
Shank
Under the head is the shaft of the nail. Paradoxically, its shape is also very important. It is worth noting that there are three types of shank:
- Smooth shank;
- Ring shank;
- Screw shank.
We can assume that the smooth shank is best used where a high holding force is not required, and at the same time the material is hard. On the other hand you can use ring shanks and screw shanks. These are usually used for the installation of materials prone to detachment from roofs based on structures made of softer wood. For more on this topic, see the rest of this article.
Tip
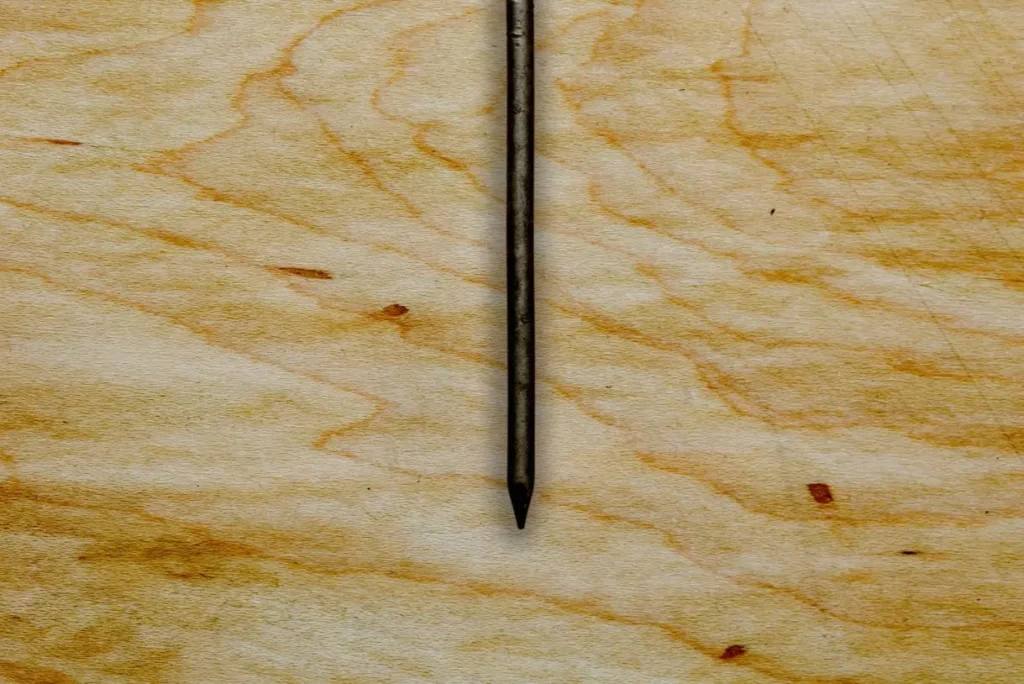
The final component of a roofing nail is its tip, which is sharply pointed in such a way that it can safely pierce wood or other roofing materials and substrates.
In some cases, a tapered bevel can be found. As you may suppose, it minimizes the risk of splitting wood when driving. This is important for heavy slate roofs, which require more solid and rigid construction.
Types of Roofing Nails
Roofing nails are divided into many types, which are related to both their shape, size and purpose. Manufacturers also pay attention to the materials and, in the case of steel nails, the protective coating used.
Smooth Shank Roofing Nails
Smooth Shank nails are nails with a smooth, straight shank that do not have any grooves or threads. Such a solution makes their installation very easy and faster, but detracts from their resistance to pulling out. Smooth shank nails are used wherever speed of driving is important, and holding power is not so important. In practice, they can be found in both asphalt and other roofs, such as slate. Smooth shanks are often used in nail guns, and their profile means that they do not split the wooden structural elements of the roof, reducing the risk of leaks.
Ring Shank Roofing Nails
Ring shank nails are covered with rings to increase the contact surface with the material they are hammered into. As a result, this improves their holding power, but their penetration is noticeably slower. Ring shank nails are also more expensive, and can cause them to crack when driven into thin wooden parts. In practice, ring shank nails are used, for example, for installing steel roofs as well as many types of flashings.
Galvanized Steel Roofing Nails
Nails made of zinc-coated steel are the most common in roofing. Because of its constant exposure to water, unprotected steel would begin to degrade in no time. At the sime time, galvalume steel is much cheaper material than stainless steel, aluminum or copper. Steel nails are used primarily when both strength and a good level of durability are important – for example, on roofs covered with asphalt shingles.
Copper Roofing Nails
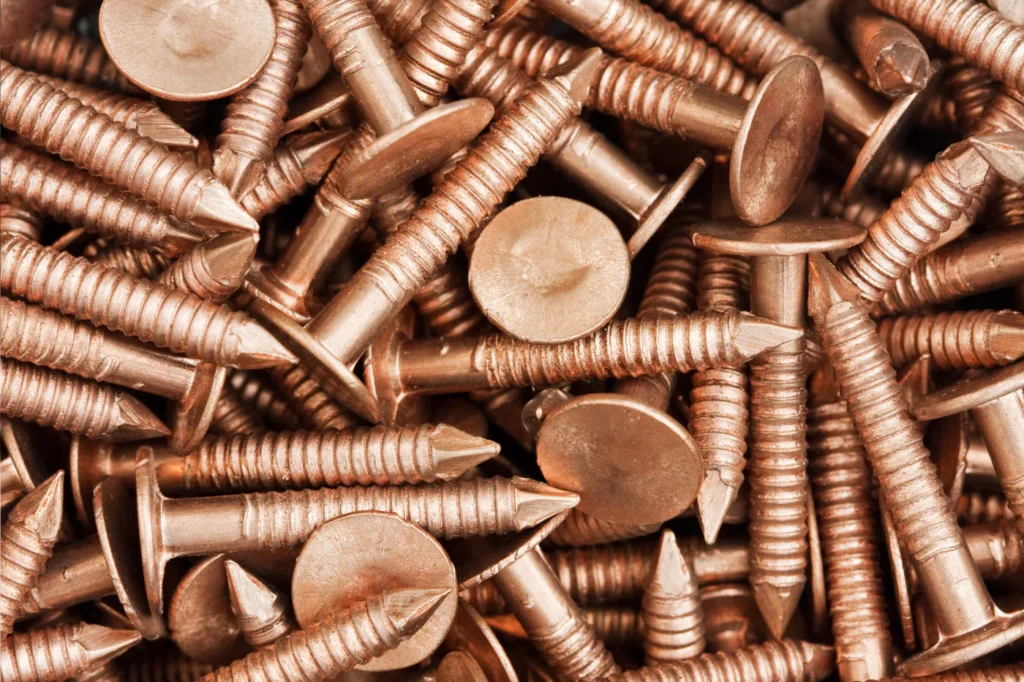
An alternative to steel is copper, which is ideal for the installation of cedar shakes, which should not come into contact with iron alloys. In most cases, copper nails are actually made of steel, which is only coated with a thin layer of this bronze metal. This is obviously due to the desire to reduce production costs. Copper nails are, of course, also used for the installation of copper roofs and flashings, although they are more concerned with aesthetics.
Nail Gun Roofing Nails
Although roofing nails designed for use in guns are varied, they usually have relatively small heads and smooth shanks. For this reason, they are primarily used when installing asphalt shingles.
What Materials Are Roofing Nails Used to Fasten?
In practice, almost every roof is attached just with roofing nails. There are only a few exceptions in the form of membranes such as EPDM and TPO, which are glued on. The most popular materials, such as asphalt shingles, cedar shakes, slate tiles and even steel and aluminum sheets are perfectly suitable for installation with nails, which usually also translates into instant installation. The choice of rooftop material, however, affects what and how many nails need to be used to make the entire structure stable and secure.
Best Roofing Nails for Asphalt Shingles
Roofing nails with smooth shank will work well for the installation of asphalt shingles, which are relatively thin – usually, they are about 0.2″ (6mm), and at the same time they do not undergo thermal expansion and do not change their moisture content too quickly.
What size roofing nails for shingles should have? In our opinion, it is usually worth choosing 1-1/4″ nails made of galvanized steel. Due to the slight differences in price, partially ringed-shank nails will generally be better than completely smooth ones. However, it is not worth opting for screw shank nails – their driving will be much more difficult and slower, while the durability of the roof will not be significantly affected.
How many roofing nails per square should be used? Typically, it is assumed that in areas with little exposure to high winds, there are about 320 nails per square – each shingle is nailed with 4 nails, while the first row of shingles is nailed with 5 nails. When you live in a windy area, it makes sense to opt for 6 nails per shingle. About 500 nails per square (5 nails per sqft) will, of course, lengthen the installation and increase the cost of roof installation, but it will greatly improve your safety. You don’t have to experience a tornado for your home to be severely damaged by wind.
How to nail asphalt shingles? The usual thinking is that nails should be spaced evenly along the entire shingle, staying about 1-1/4″ from the edge. Good roofers drive the nails so that they form as straight a line as possible, so that the shingle is evenly pressed against the sheathing.
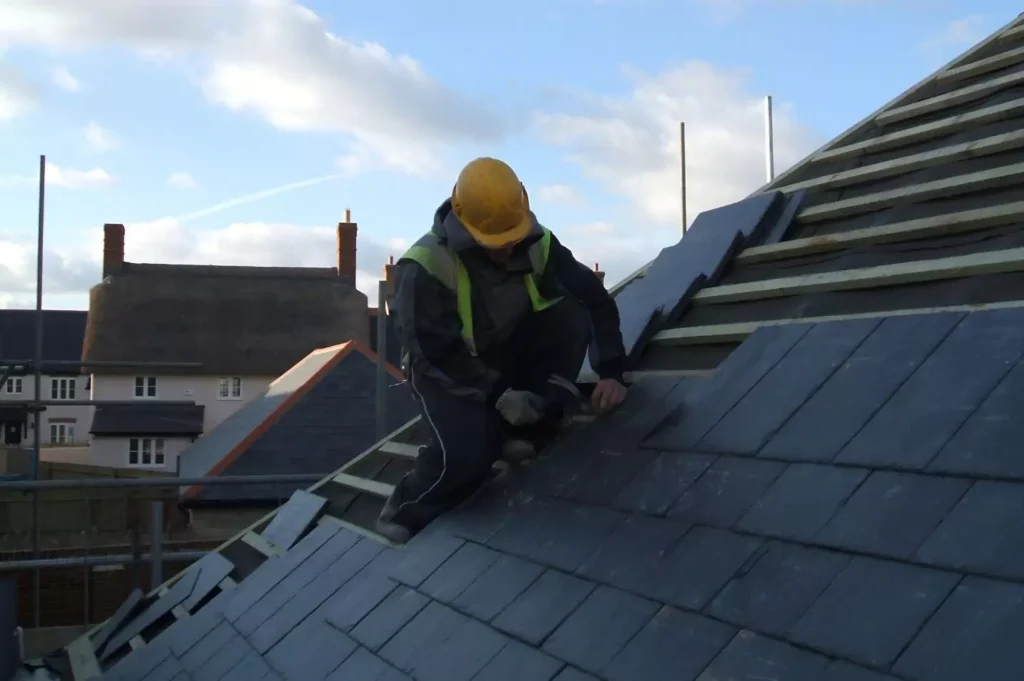
Best Roofing Nails for Cedar Shakes
Because of the greater thickness, which in some cases exceeds as much as 5/4″, it is necessary to use much larger nails to affix the cedar shakes. As a Burr Ridge cedar roofing contractor, we typically install shakes that are 3/4“ thick, using 1-1/4” ringed shank nails. However, when we install thicker pieces of wood, they are nailed using 2″ nails.
What size roofing nails for cedar shakes should have? They should definitely be longer and thicker than the nails used to install asphalt shingles. They should also not be galvanized – much better would be those made of stainless steel, copper-plated steel or copper. Shank should definitely be screwed or ringed. Due to the aforementioned susceptibility of cedar shakes to soaking and evaporation, smooth nails will simply start to lose their support in the roof structure over time and begin to slip out of it.
How many roofing nails per cedar shake should be used? It is generally accepted that a typical width of cedar shakes is nailed with two nails. More are rarely needed.
How to nail cedar shakes? Nails are driven on the top of the shake, about 1.5″ from the edge.
How Are Roofing Nails Driven?
Roof installation is crucial to its lifespan. Mistakes made at this stage can result in many problems in the future, expensive repairs or a reduction in the overall life of the roof. Installing shingles using roofing nails is no exception. Roofing contractors usually use these two techniques:
- Hammer nailing – this technique allows the most precise nail driving. By doing it manually, the roofer has full control over the entire process and can sense the appropriate resistance and correct the nail position on the fly. The hammer-driving method also allows quick response to potential errors;
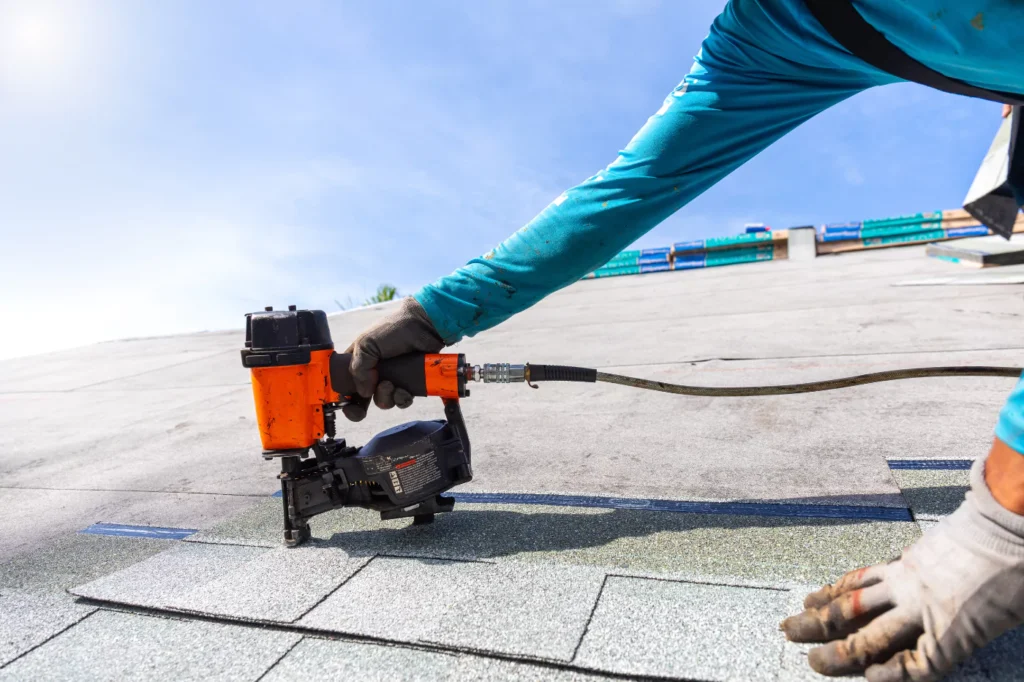
- Using a pneumatic nailer (nail gun) – the main advantage of this solution is the speed and ease of driving even long nails. Although nailers are in practice used only by specialists, even they can make mistakes. Due to the strength of these devices, the roofer must rely on his hearing and intuition. Although most nailers allow you to adjust the nail penetration depth and force setting, many people don’t handle it very well.
What Mistakes Can Be Made When Driving Roofing Nails?
Nails should be driven at right angles to the surface in such a way that the head neither sticks out, which will result in a weaker hold on the material and consequently the possibility of loosening in the wind, nor cuts into the material, which in turn damages the shingle itself, leading to faster wear and a faster risk of snapping. A nail driven in at an angle, not only either damages the material or holds less well, it also has a higher risk of falling off.
Summary
Asphalt and cedar shingles require special nails for their installation. By choosing the right parameters of nails and nailing them correctly, you will provide your roof with the required conditions for the longest possible maintenance of the shingles. Remember that for asphalt shingles the basic roofing nail option is galvanized steel smooth shank nails, but if your roof requires better adhesion or aesthetics, it would be a good idea to shop around for other options.